1. Click Start -> Control Panel
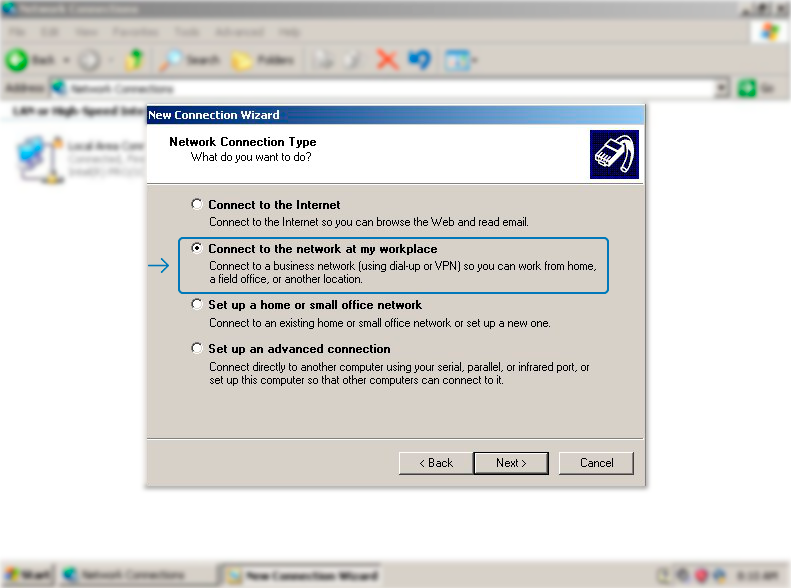
2. Enter the Networking Connections option
3. Select File -> New Connection
4. Choose Connect to the network at my workplace -> Next
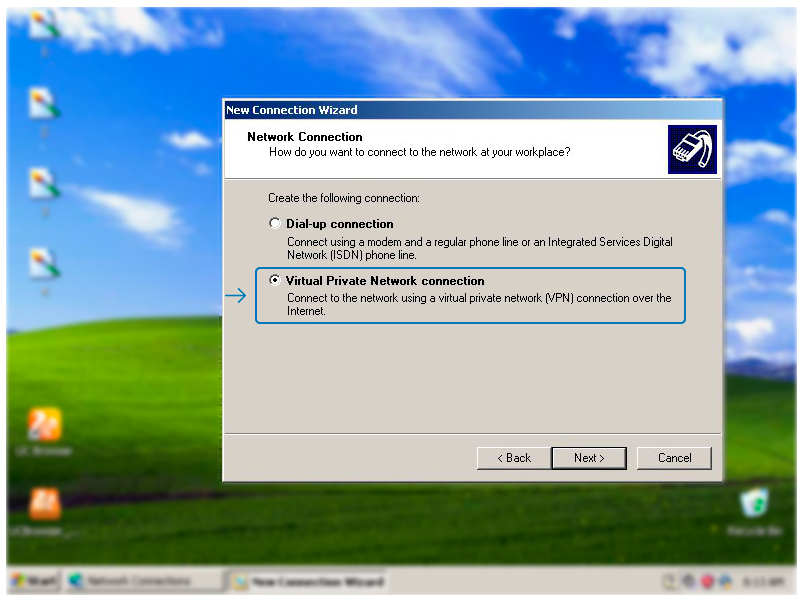
5. Select Virtual Private Network -> Next
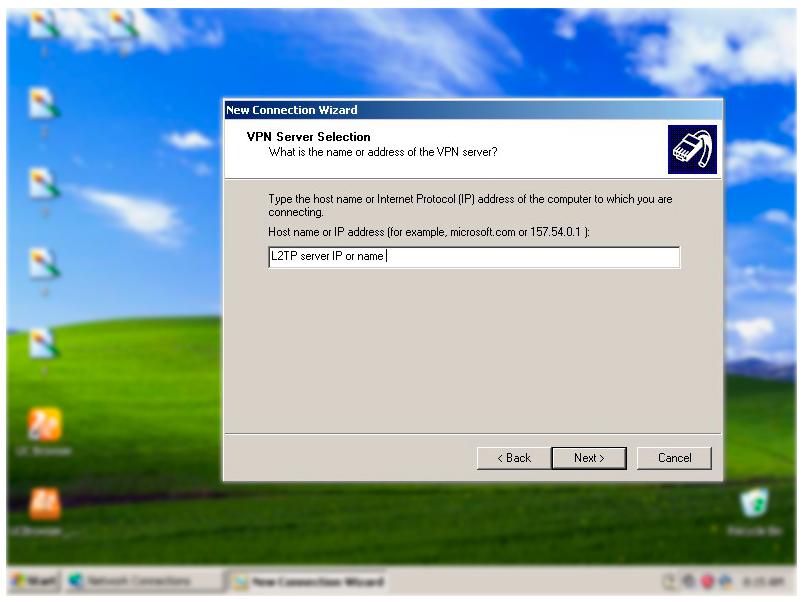
6. Specify VPN24.me L2TP
7. Specify the location/server
domain you wish to connect to from our
server list
8. (Optional) Select Add a shortcut to this connection to my desktop -> Finish
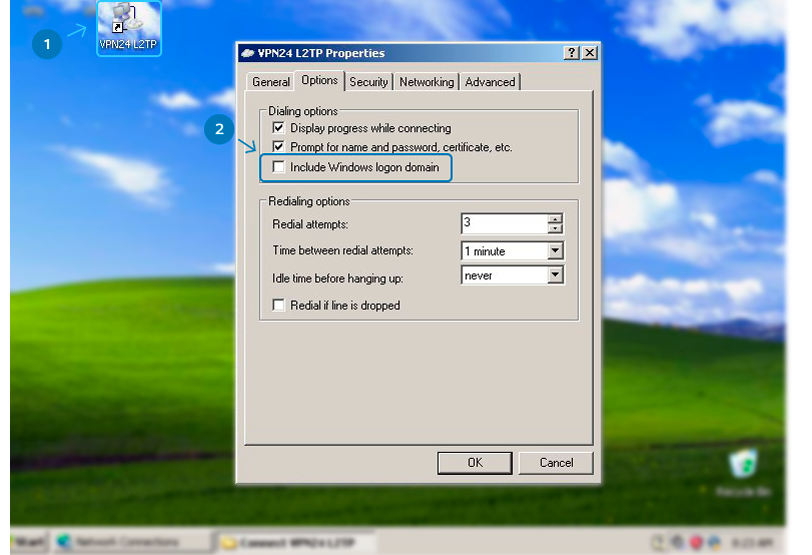
9. Click VPN24.me L2TP -> Properties -> Options Tab Unselect «Include Windows Logon Domain»
10. Click Networking Tab -> Type of VPN -> L2TP/IPSec VPN
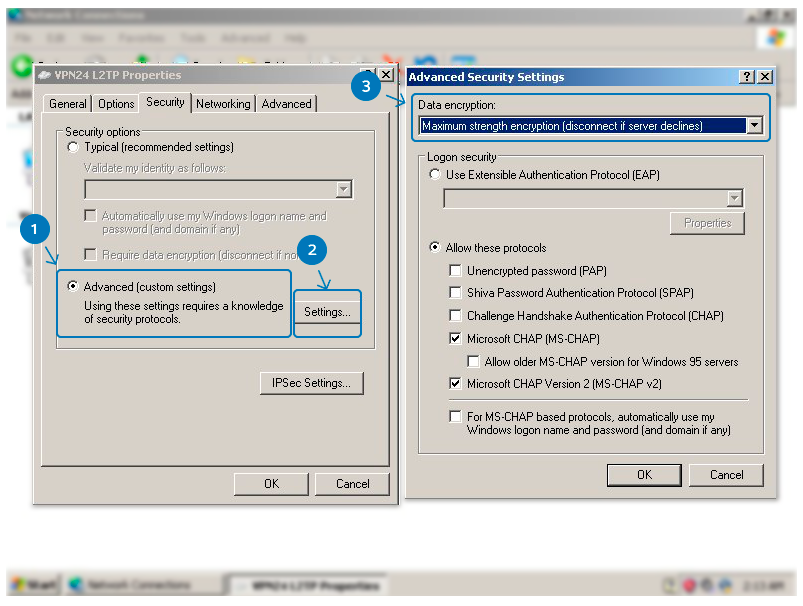
11. Click Security Tab -> IPSec Settings -> Specify Pre-shared key (PSK)
12. Select Advanced (Custom Settings)-> Settings->Data encryption: Maximum Strength Encryption (disconnect it server declines)
Now you need to change your DNS, here are the steps to do it:
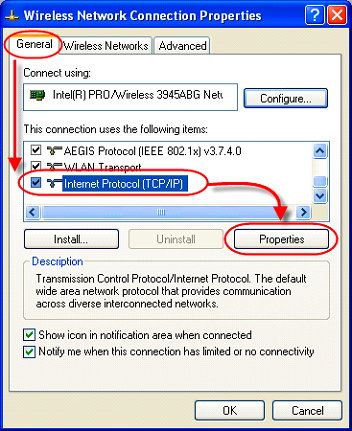
1. Right-click on the network interface connected to the Internet, and then select the Properties option.
2. Select and check the Internet Protocol Version 4 (TCP/IPv4) option.
3. Click on the Properties button.
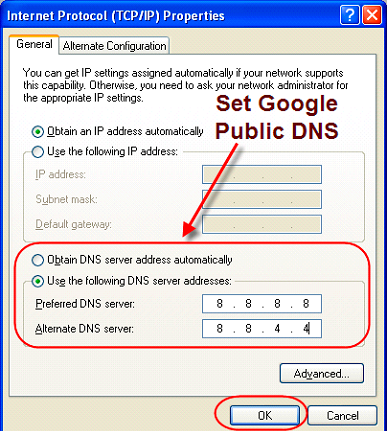
4. Click on the Use the following DNS server addresses option.
5. Insert your prefered and alternate DNS addresses.
In case you are using Google Public DNS, OpenDNS, or CloudFlare, you can insert these settings:
- Google Public DNS: 8.8.8.8 and 8.8.4.4
-OpenDNS: 208.67.222.222 and 208.67.220.220
-Cloudflare: 1.1.1.1 and 1.0.0.1
6. Click the OK button.
7. Click the Close button.
Open VPN24.me L2TP on your desktop -> specify Login and Password of server


